Peel and stick wall decor has revolutionized how renters and homeowners personalize their spaces without permanent commitment. Whether you’re stuck with builder-beige apartments or just want to refresh a tired room, these adhesive solutions let you add color, pattern, and texture without paint, nails, or damage deposits. In 2026, the quality and design options have expanded far beyond the basic wallpaper tiles of years past. From photorealistic murals to geometric accent walls, peel and stick products offer a quick, reversible way to transform any room in a weekend. This guide walks you through choosing, installing, and maintaining peel and stick wall decor so you get professional results.
Table of Contents
ToggleKey Takeaways
- Peel and stick wall decor offers a damage-free, renter-friendly alternative to paint and traditional wallpaper, with reversible application that requires no special tools or messy paste.
- Quality and design options for peel and stick wall decor now range from photorealistic murals and geometric tiles to textured overlays and 3D panels, with pricing from $0.50 to $5 per square foot depending on the product type.
- Proper installation of peel and stick decor depends on thorough wall preparation, careful measurement, and systematic air bubble removal using a squeegee—common mistakes like rushing application and under-preparation lead to edge peeling and disappointing results.
- Premium peel and stick products last 5–10 years when installed correctly and maintained by avoiding moisture, direct sunlight, and harsh cleaners, while budget options may deteriorate in 2–3 years.
- Removal of peel and stick wall decor is straightforward and damage-free when done slowly at a shallow angle, making it ideal for renters concerned about lease deposits and homeowners wanting temporary design flexibility.
What Peel And Stick Wall Decor Is And Why It Works
Peel and stick wall decor consists of pre-glued vinyl, fabric, or paper-backed adhesive products that bond directly to clean, flat surfaces. Unlike traditional wallpaper that requires paste and hours of drying time, these products are self-adhesive and repositionable in most cases. The backing is a pressure-sensitive acrylic or rubber-based adhesive that sticks on contact and peels away cleanly when you’re ready for a change.
They work on drywall, painted walls, ceramic tile, glass, and even furniture, as long as the surface is clean, smooth, and dust-free. The main advantage for renters is the reversibility: most products lift away without damaging the wall underneath or leaving sticky residue, making them lease-friendly. Homeowners appreciate the speed and cost compared to hiring painters or dealing with traditional wallpaper. You don’t need special tools, messy paste, or a sealing coat. Installation is straightforward enough for beginners, though technique matters for a bubble-free, professional finish.
Peel and stick also comes in designs that would be impossible or impractical with paint alone. Photorealistic forest murals, geometric tile patterns, and metallic accents offer visual impact that a roller can’t replicate. The products are durable when installed correctly, typically lasting 5-10 years, though high-moisture areas like kitchens and bathrooms require care.
Popular Types And Styles Of Peel And Stick Decor
Wallpapers, Murals, And Wall Art
Peel and stick wallpapers come in traditional patterns (damask, stripes, geometric) and bold statement designs. Removable wallpaper is usually thinner than repositionable vinyl murals but offers a softer, more paper-like finish that some prefer aesthetically. Full-wall murals, think forests, cityscapes, or abstract art, are increasingly popular for creating a focal point without the commitment of paint or traditional murals.
Wall decals and vinyl art are smaller, pre-cut designs (words, silhouettes, decorative shapes) you position individually or as a collection. These work well for accents above beds, over desks, or in corner galleries. The main trade-off is that smaller pieces take longer to install if you’re doing dozens of them, but they’re forgiving if a single decal needs repositioning.
Quality varies widely. Premium brands use fade-resistant inks and thicker vinyl that resists peeling at edges: budget options may curl after 2-3 years or yellow in direct sunlight. Budget roughly $0.50–$2.00 per square foot for wallpaper and $15–$50 for mid-sized wall decals, though statement murals can run higher. Experts at Apartment Therapy regularly review affordable decor options that include peel and stick styles for renters seeking quick refreshes.
Tiles, Textures, And Statement Pieces
Peel and stick tile mimics subway, hexagon, and mosaic patterns without grout or installation headaches. They’re ideal for kitchen backsplashes, bathroom walls, or creating a geometric accent wall. Each tile is usually 4×4 inches to 12×24 inches, and you arrange them like a jigsaw puzzle. They’re thicker and more durable than wallpaper, standing up better to moisture if installed over sealed surfaces.
Texture overlays, embossed vinyl or fabric-backed sheets, add dimension without paint or wallpaper. They work beautifully in neutral tones to add subtle depth or in bold colors for dramatic effect. Some have a faux shiplap, brick, or wood-grain finish: others are purely abstract texture. Installation is the same as wallpaper, but texture sheets require extra care during squeegee-ing to avoid trapping air in the raised details.
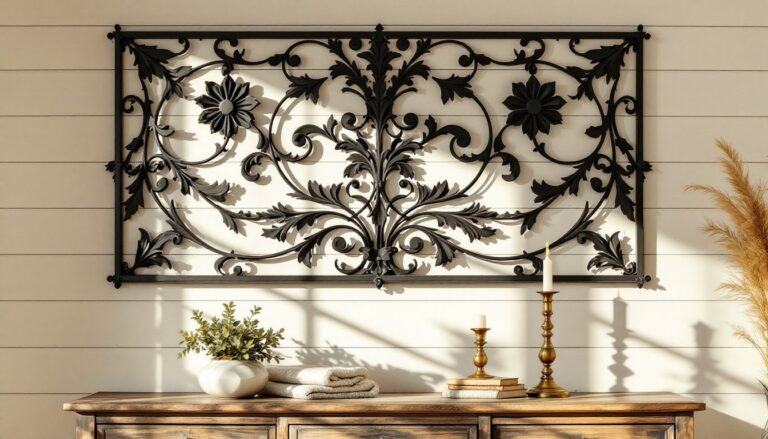
Statementpieces like 3D geometric wall panels or metallic accents cater to modern and industrial aesthetics. These are pricier, $1–$5 per square foot, but they create a striking focal point quickly. Hallways, media walls, and feature walls in living rooms are ideal spots.
How To Install Peel And Stick Decor Like A Pro
Prep is everything. Clean your wall thoroughly with a slightly damp cloth and mild soap, then dry completely. Dust, fingerprints, and residue from old tape or adhesive prevent proper bonding. If you’re covering a glossy or semi-gloss paint, use a lint-free cloth with a bit of rubbing alcohol to improve adhesion. Wait at least 24 hours after painting a wall before applying peel and stick products: paint needs time to cure fully.
Measure and plan your layout. Use a level and light pencil marks to map out where the product starts and how it aligns. For wallpaper or large sheets, work from the center outward to avoid bunching. For tile patterns, start from the center of the wall and work outward in a grid to keep grout lines (or joins) symmetrical.
Remove the backing slowly and evenly, starting from one corner rather than peeling it all off at once. Apply the adhesive side carefully to the wall, using your hands to set the top portion first. Smooth out air bubbles using a plastic squeegee or credit card, never hard metal tools that can tear vinyl. Work from the center outward using firm, deliberate strokes in a J-pattern to push trapped air toward the edges.
For wallpaper seams, press the edges firmly and use a seam roller (a small tool found at any big-box store) to bond the overlap. Some products accept a hairdryer on low heat to help adhesive set, but check the manufacturer’s instructions first. Most peel and stick needs 24–48 hours before you treat it roughly or hang anything on top.
Common pitfalls: rushing the application, not measuring first, and under-squeegeeing (leading to bubbles and edge peeling later). If you get a stubborn bubble, use a small craft knife to cut a tiny slit, push out air, and smooth it down. Projects that involve cutting around outlets, windows, or trim take extra patience but are entirely doable with a utility knife and steady hand. Projects by designers at Young House Love often showcase DIY wall transformations that include peel and stick applications with step-by-step photos.
Maintenance, Removal, And Longevity Tips
Peel and stick decor is low-maintenance if you avoid moisture and direct heat. Don’t use harsh cleaners on the surface, a soft, dry microfiber cloth works best for dust. In bathrooms, ensure exhaust fans run during and after showers to limit humidity exposure: moisture is the main reason peel and stick peels prematurely.
Removal is straightforward. Gently peel a corner and lift slowly at a shallow angle, not straight out. If it resists, warm it with a hairdryer on low heat to soften the adhesive. Take your time: rushing causes tears. Once removed, check for any remaining adhesive residue. A bit of rubbing alcohol on a cloth removes stubborn sticky spots without damaging most paint finishes, though test it on an inconspicuous area first.
To maximize longevity, avoid direct sunlight on dyed products (colors fade faster), keep humidity below 80%, and don’t install over damaged drywall or unstable surfaces. Premium vinyl lasts 5–10 years: budget products may deteriorate in 2–3 years. Seams are the most vulnerable point, check them every 6–12 months and press down any lifting edges.
For renters, peel and stick is ideal because removal is damage-free and leaves no holes or stains. Homeowners can commit to bolder designs without worry, knowing they’re removable if tastes change. Document the condition of your walls before and after with photos if you’re renting, as insurance against deposit disputes.
Conclusion
Peel and stick wall decor democratizes interior design, letting anyone update a room in a weekend for less than the cost of a single can of quality paint. Whether you’re a renter avoiding damage deposits or a homeowner testing a bold new direction, these products deliver professional results with minimal skill or tools. Start with a small project to gain confidence, invest in quality products from reputable makers, and prioritize prep work. The difference between a polished, lasting installation and peeling edges often comes down to how thoroughly you cleaned the wall and pressed out air bubbles. With the right approach, peel and stick transforms spaces fast and faithfully, and leaves you with an easy exit if you’re ready for the next change. Resources like The Spruce Crafts offer detailed tutorials on various DIY decor projects that pair well with peel and stick applications for comprehensive room makeovers.